The guidance is only for reference. Users should configure their servers and clients according to their organisation’s security requirements!
This document is about how to enroll smart card certificates on behalf of other users(in your domain) through a enrollment agent. There are three steps:
- Create and issue a certificate enrollment agent certificate template
- Create the enrollment certificate for target users
- Enroll the certificate in step 2
Step 1: Create a certificate enrollment agent
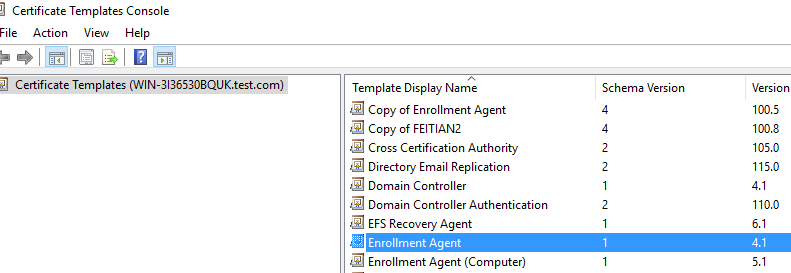
1. Press “win+R” button, run certtmpl.msc, right click the “Enrollment Agent” template and select “Duplicate Template”.
2. Next, adjust the properties of the new template. Under the Compatibility tab, select your server and oldest version of domain user’s OS version.

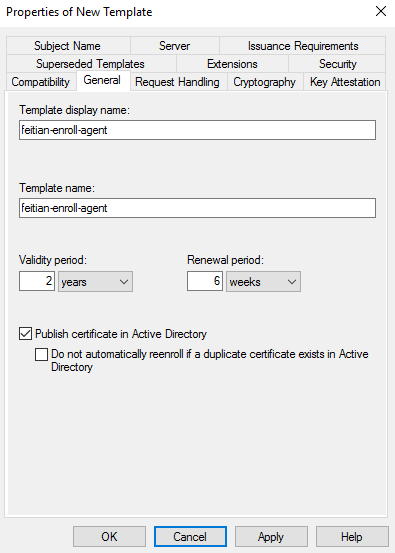
3. Under the General tab, rename the template and check the Publish certificate in Active Directory.
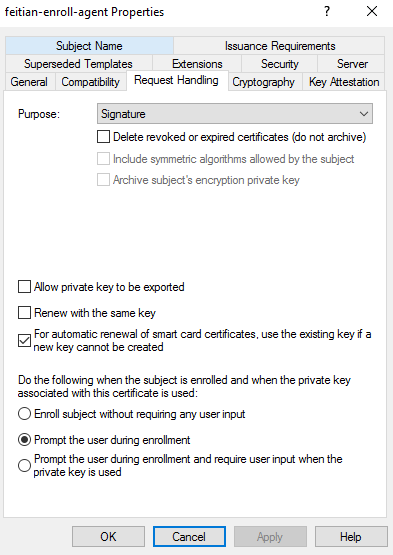
4. Under the Request Handling tab, select Purpose: Signature, check Prompt the user during enrollment, and check For aut0matic renewal of smart card certificates use the existing key if a new key cannot be created option if you want to auto renew you certificates with out new secret keys.
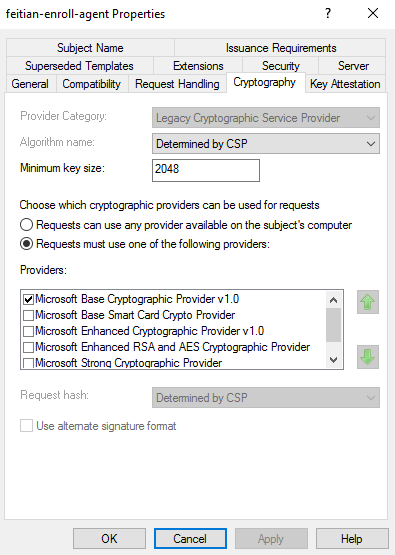
5. Under the Cryptography tab, change the minimum key size to 2048, select “Requests must use one of the following providers”, and check the Microsoft Base Smart Card Crypto Provider. (For Provider Category, Key Storage Provider is also an option, in that case, select Microsoft Software Key Storage Provider)
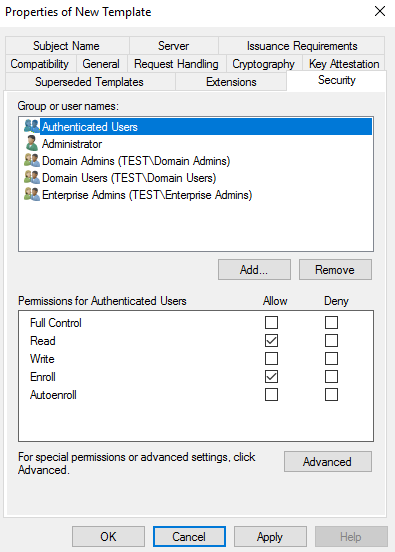
6. Under the Security tab, be sure the Read and Enroll ability is set for the user or group of users who will be setting up the smart cards for logon. The admin group is same as auto-enrollment settings.
7. Click OK to save the template. Close that window.
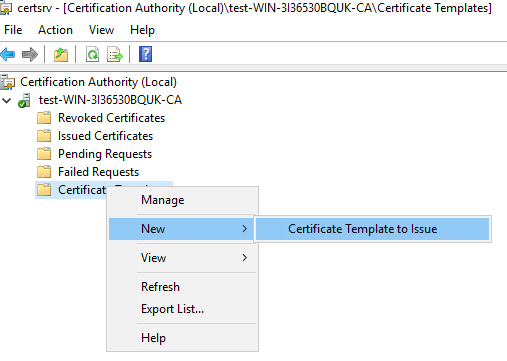
8. Publish the enrollment agent certificate template:
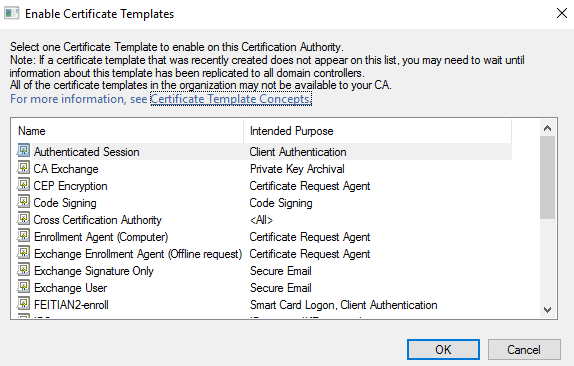
- Right-click the Windows Start button and select Run. Type certsrv.msc and press Enter. Right click the Certificate Templates folder, choose New then Certificate Template to Issue. Choose the template you just created and click Ok.
9. Issue this template:
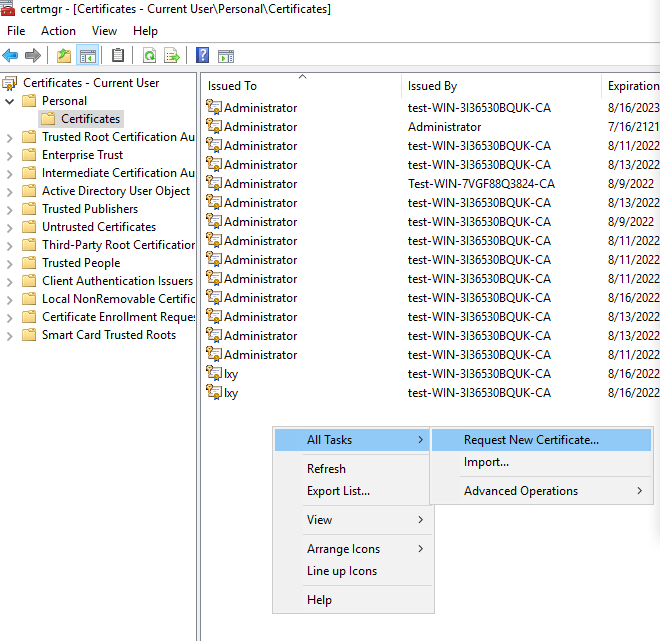
(1). Login the issuer account, run certmgr.msc. Right click the Certificate – Current User / Personal / Certificate, and select All Tasks / Request New Certificate…
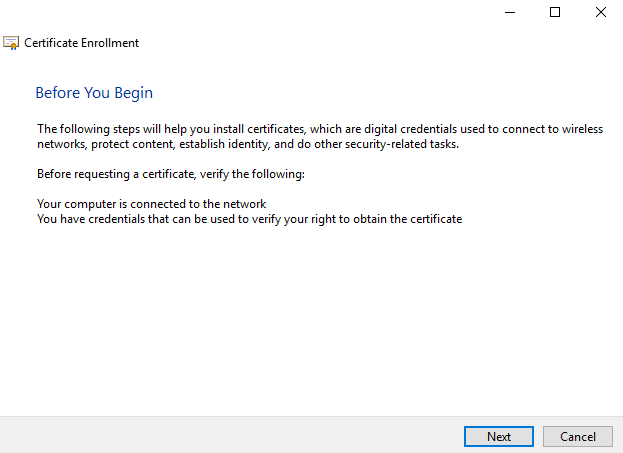
(2). Move next,
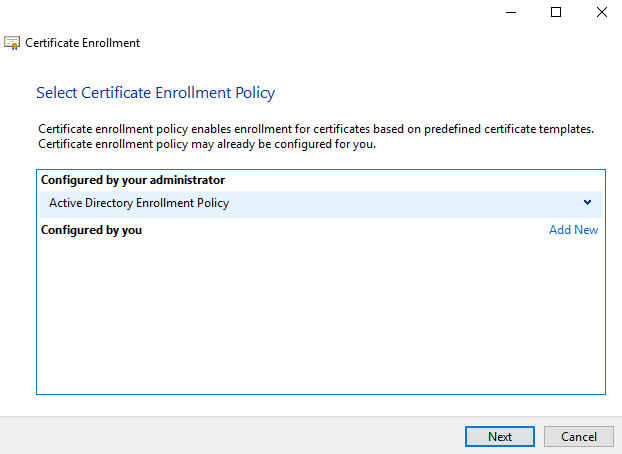
(3). Make sure your AD Enrollment Policy, next,
(4). Select the enrollment agent template you just created, click “Enroll”.
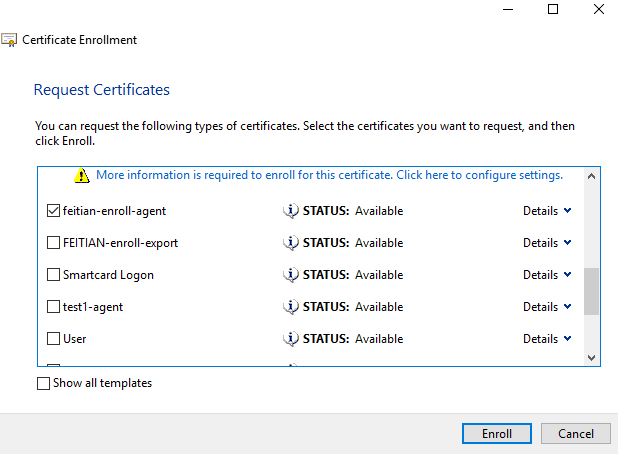
Success.
Step 2: Creating a enrollment certificate template
- In order to be able to issue a smart card certificate on behalf of another user, the Smart Card User or Logon template needs to be adjusted to require the Enrollment Agent certificate for enrollment.
1. Duplicate and configure a Smart Card User or Logon template, detailed in the article on setting up templates for self enrollment: Configure CA for Smart Card Login with a FEITIAN FIDO Security key
2. Then make the following changes to template properties under the Issuance Requirements tab:
– Set the number of authorized signatures to 1,
– Set the policy type to “Application Policy”,
– Set the application policy OID to “Certificate Request Agent”.
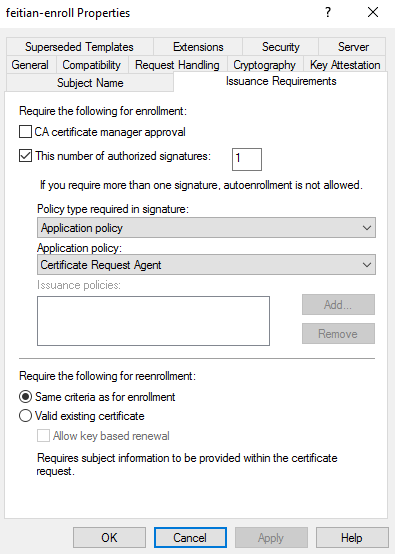
- Note: Be sure the Read and Enroll ability is set for the group or users who act as the Enrollment Agents to set up the other users with this certificate.
- Make sure the template has been issued in certsrv.msc , same as Step 1. Then you can move to Step 3.
Step 3: Enroll a Smart Card certificate on behalf of others
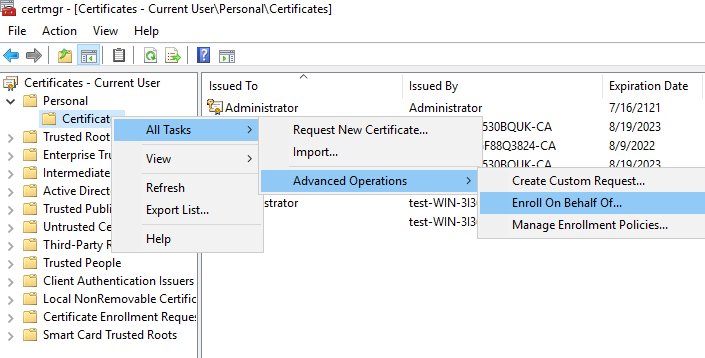
1. Log in as the user that will do enrollment for others, then run certmgr.msc. Right click the Certificate – Current User / Personal / Certificate, and select “Enroll on behalf of” from All Tasks / Advanced Operations.
2. Click through the “Before You Begin” screen, and on the “Certificate Enrollment” screen, click the “Browse…” button and select the enrollment agent certificate you have been issued in Step 1.
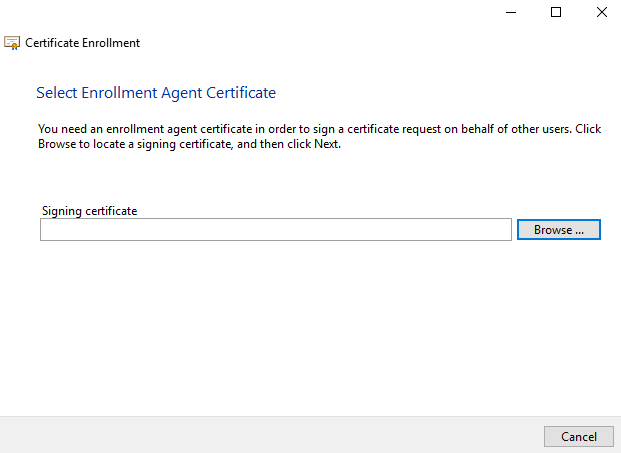
- If no Enrollment Agent certificate is available you will need to request one be issued to you. See Step 1
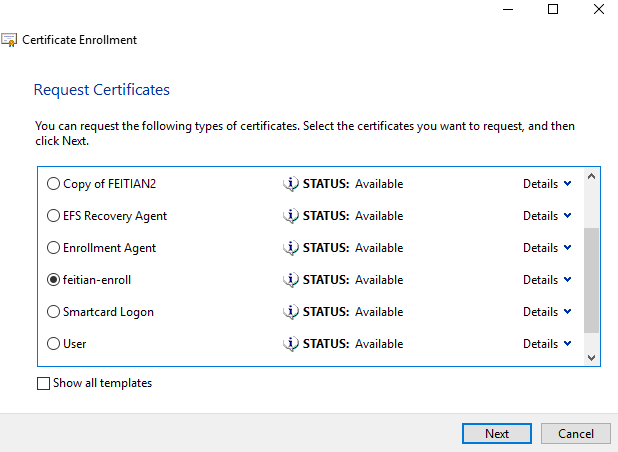
3. On the next page select the smart card enrollment certificate template you have duplicated or modified. (If you didn’t find one, make sure the certificate template has been created and issued that you can see at certsrv.msc)
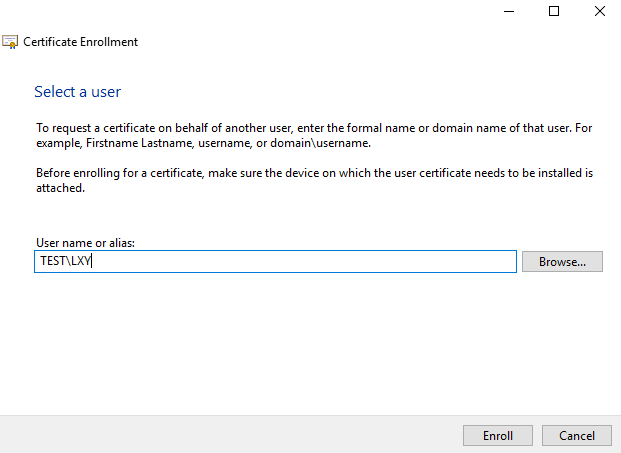
4. Click Next and enter the target user account(must in the domain) you are going to enroll the certificate on the behalf of.
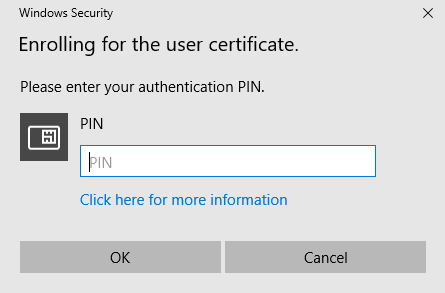
5. Click Next. The following dialog may appear asking you to insert the user’s smart card if it is not already inserted. Enter the PIN.
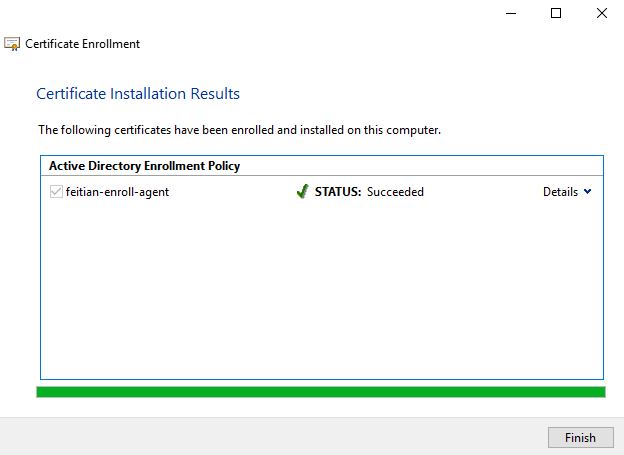
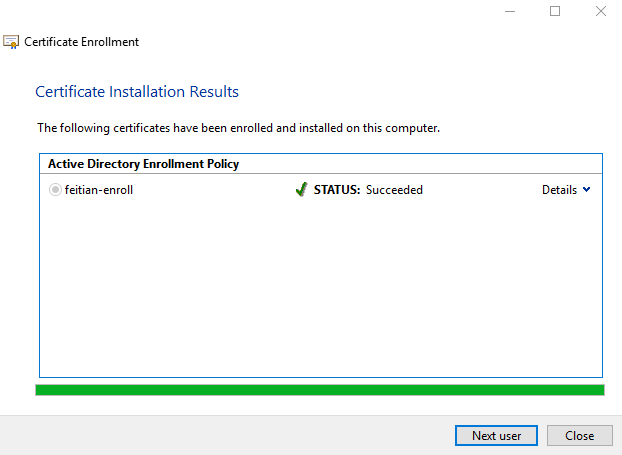
6. If the enrollment is successful, the dialog will show the following:
- If you choose the third part crypt provider instead of the key to generate key-pair, there will be a prompt to let user allow the devices to be accessed.
- After the enrollment is success, the smart card is ready to be used for that user. You can enroll for other users or close the window.
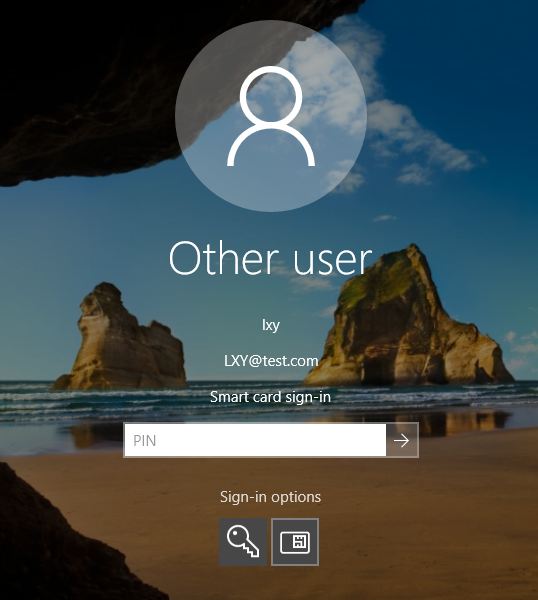
- At this point, the target user is now able to logon to this domain with that Smartcard.