
The guidance is only for reference. Users should configure their servers and clients according to their organisation’s security requirements!
This document is mainly about enabling additional features about Smard Card logon for windows through configurations, including three aspects:
-
Adding support for ECC Algorithm
-
Changing the Behavior for Your Domain When You Remove the Smart Card
-
Working with Enterprise Root Certificates
Adding Support for Elliptic Curve Cryptography (ECC) Certificate Login
By default, ECC certificates are not supported for domain login in Active Directory. In order to allow ECC certificates for domain login, the GPO must be set. This can be done either through Group Policy or by editing the registry on the local system (in the case of a system where Group Policy is not managed by the domain).
Adding ECC Through a Group Policy Object
- Right-click the Windows Start button and select Run.
- Type gpmc.msc and press Enter.
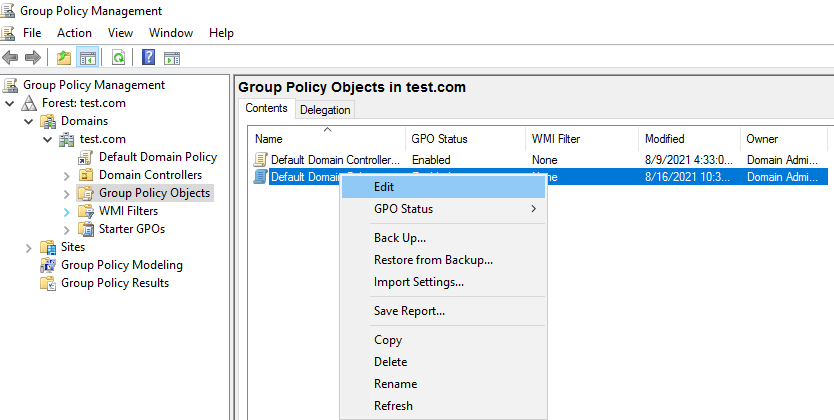
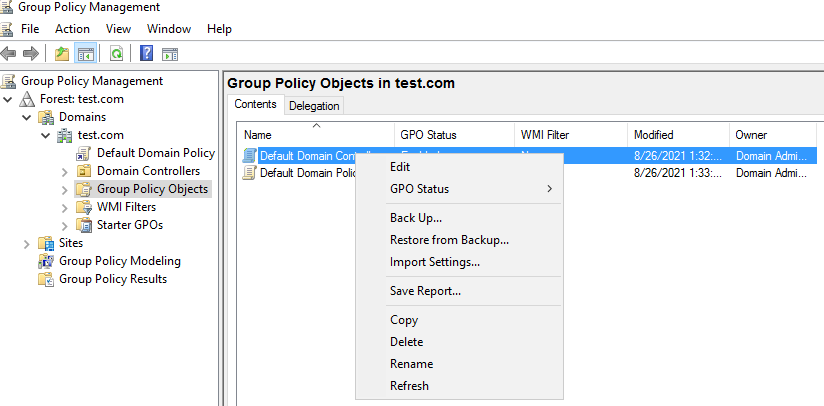
- Navigate to the AD forest and Domain containing your server, double-click your server and double-click Group Policy Objects.
- Right-click on the group policy you want to edit, and then select Edit.
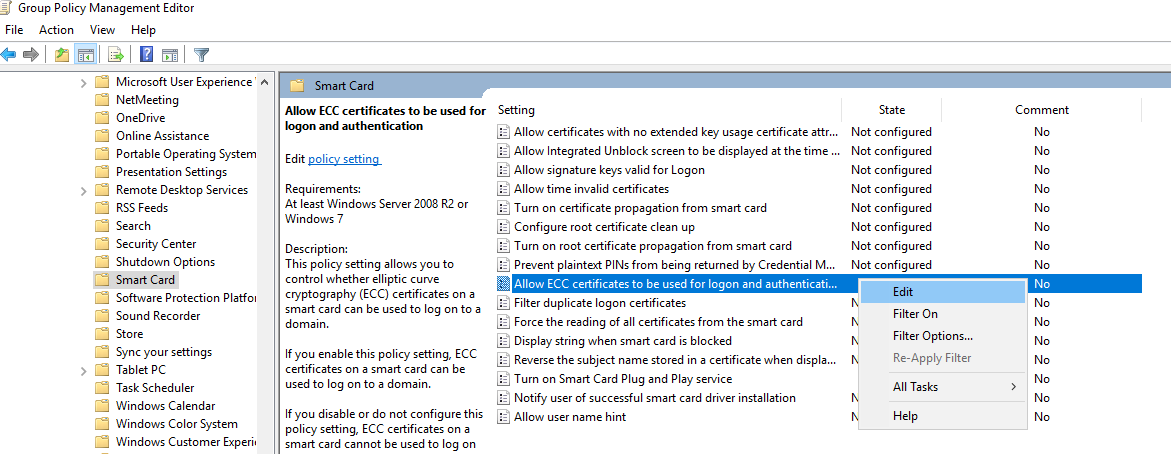
- Expand Computer Configuration > Policies > Administrative Templates > Windows Components > Smart Card.

- Find Smart Card, right-click on Allow ECC certificates to be used for logon and authentication and select Edit.
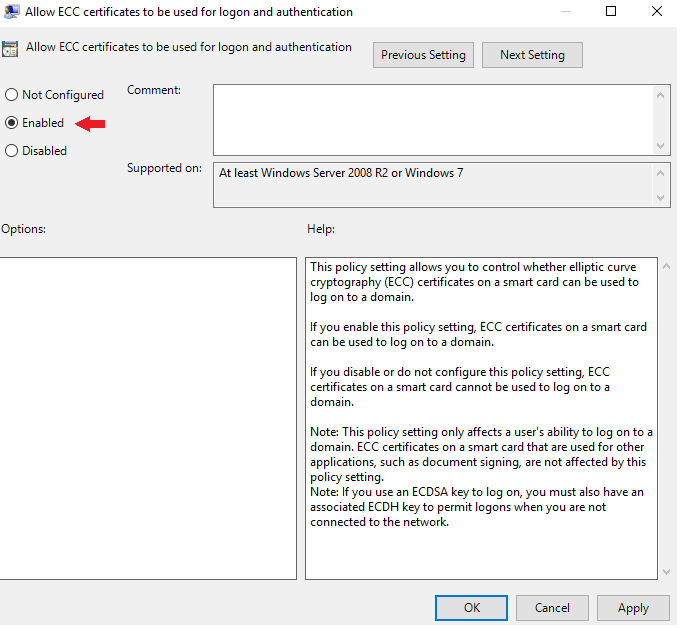
- On the Edit window select Enabled. Click OK.
Adding ECC Through the Local Registry
In the event a machine cannot be managed via Group Policy, support for ECC Certificates can be done via the local registry.
- Right-click the Windows Start button and select Run. Type regedit and press Enter.
- Expand HKEY_LOCAL_MACHINE > SOFTWARE > Policies > Microsoft > Windows > SmartCardCredentialProvider (Note: It is possible that SmartCardCredentialProvider doesn’t currently exist. If that is the case, right-click Windows and select New > Key and name it SmartCardCredentialProvider).
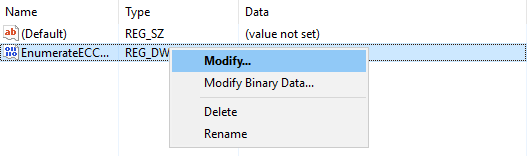
- With SmartCardCredentialProvider highlighted, open the Edit menu and select New > DWORD (32-bit) Value.
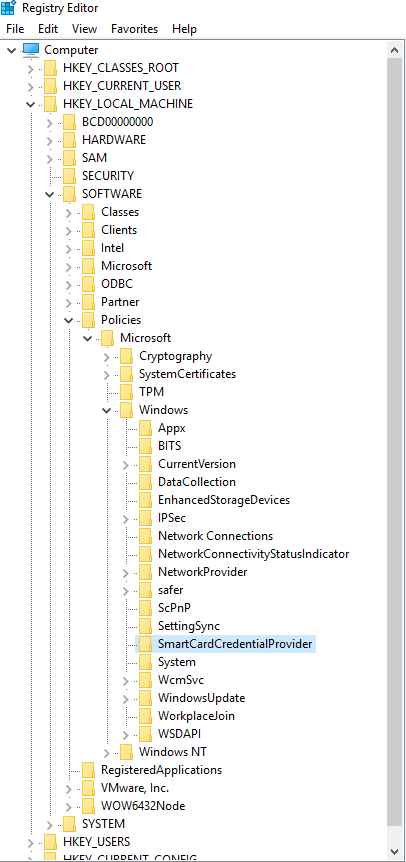
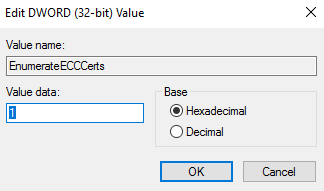
- Name the new object EnumerateECCCerts. Right-click on EnumerateECCCerts and select Modify….Set the Value data to 1 and click OK. Close the register editor.
Changing the Behavior for Your Domain When You Remove the Smart Card
When a user logs into the domain account using a smart card, by default, the user can remove the smart card at any point with no change to the login status. For security reasons, you may want to enforce a different behavior. In Group Policy, you can specify that Windows locks the user account, or logs out the user if the smart card is removed at any point while the user is logged in to the account.
Editing Group Policy to Lock the User’s Workstation when a Smart Card is Removed
- Right-click the Windows Start button and select Run.
- Type gpmc.msc and press Enter.
- Right-click on the group policy you want to edit, and then select Edit.
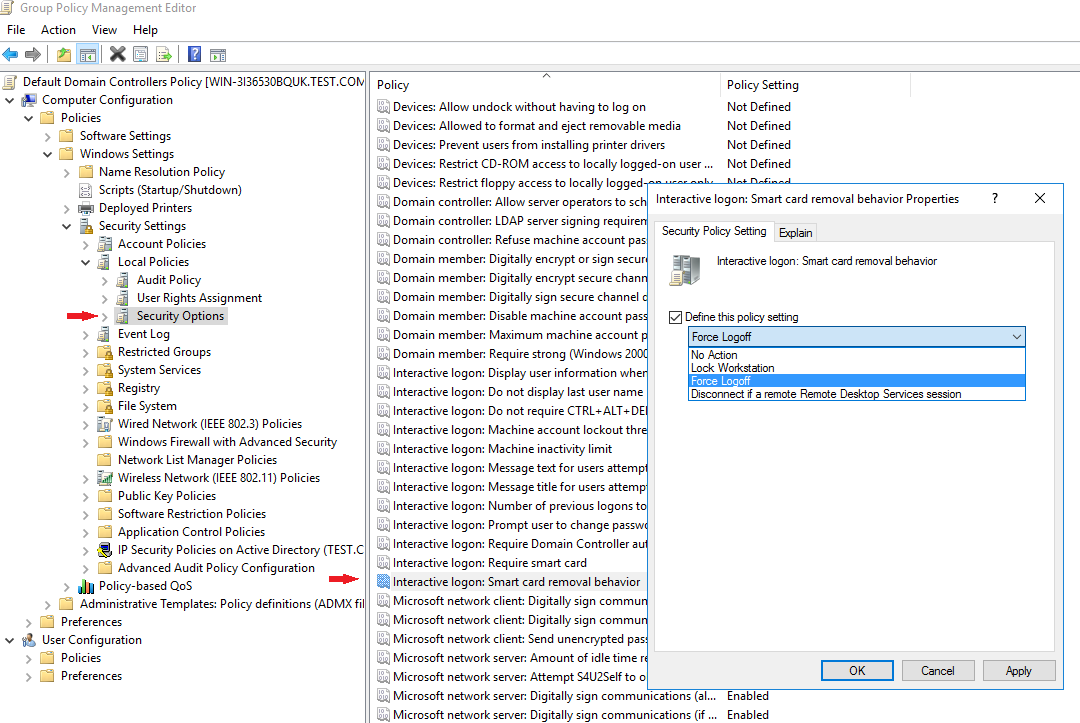
- Expand Computer Configuration > Policies > Windows Settings > Security Settings > Local Policies > Security Options.
- On the right part, locate and right-click Interactive Logon: Smart card removal behavior, and select Properties.
- On Security Policy Setting tab, check Define this policy setting, and set it to Lock Workstation or Force Logoff, depending on your requirements.
- Click Apply, and then click OK.
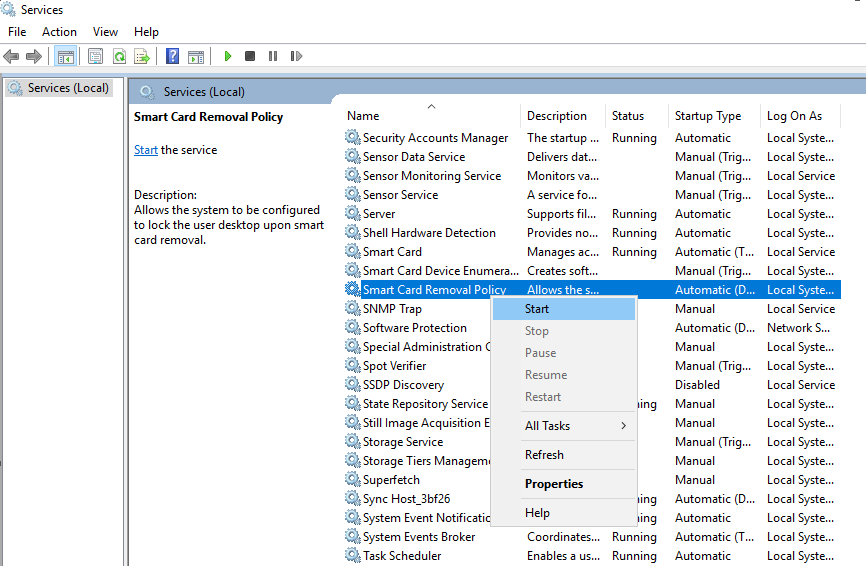
- Please note that the Smart Card Removal Policy must be running all the time: Run Services, right click Smart Card Removal Policy, click Start.
- If all settings are correct, the next time you logon with your smartcard, you can lock or logoff your account by un-plugging your smartcard, depending your settings.
Adding a Key to the Windows Registry to Delay the Smart Card Removal Policy Service
When using FEITIAN Security Key with other functions (such as FIDO2), the key will act as if the smart card has been ejected, locking Windows. To prevent this from occurring, the registry can be modified to delay the Smart Card Removal Policy Service.
When logged in under an admin account, Right-click the Windows Start button and select Run.
- Type gpmc.msc and press Enter.
- Right-click on the group policy you want to edit, and then select Edit.
- Expand Computer Configuration > Preferences > Windows Settings.
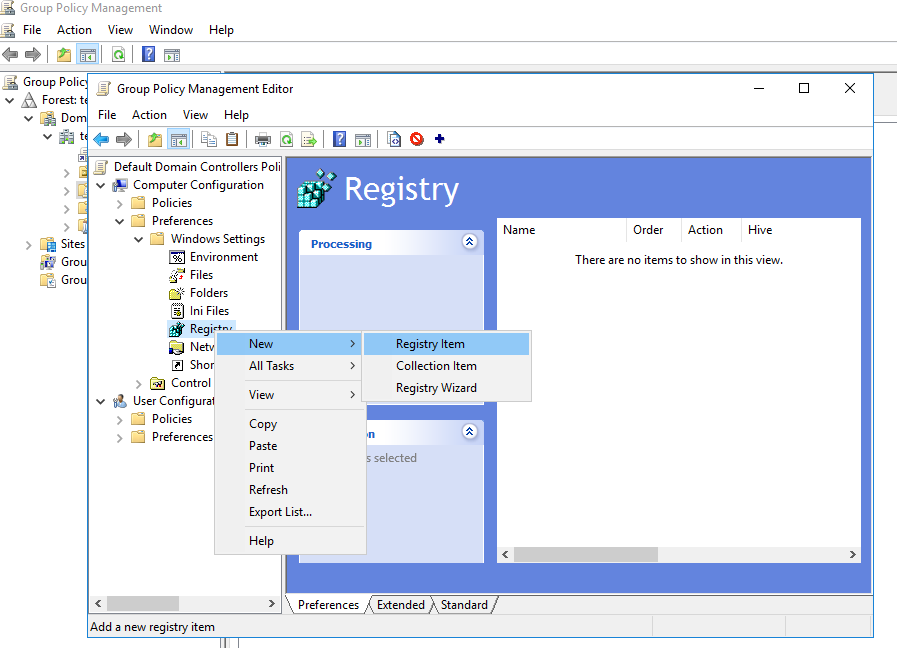
- Right-click Registry, and select New > Registry Item.
- Set the following fields as indicated:
- Action: Update
- Hive: HKEY_LOCAL_MACHINE
- Key Path: SYSTEM\CurrentControlSet\Services\SCPolicySvc
- Value name: DelayedAutoStart
- Value type: REG_DWORD
- Value data: 1
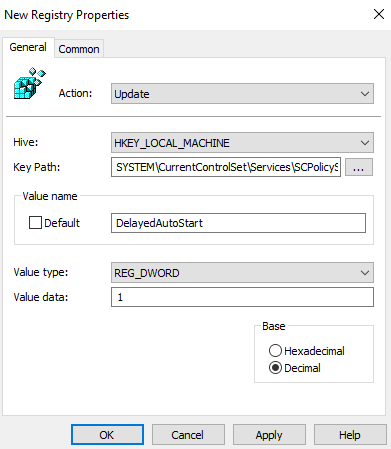
7. Click OK.
Working with Enterprise Root Certificates
For a standard forest, Windows can manage the trust chain for the FEITIAN smart card authentication automatically. However, in situations where there may not be a direct connection between the Windows computer and the server with the Certification Authority, loading the Root Certificate on a FEITIAN Security key can bridge the gap for the initial registration. Common situations covered are: including systems on a multi-forest domain, users logging onto domain accounts from non-domain systems, or deployments adding new systems to a domain using a smart card for authentication.
Adding an Enterprise Root Certificate to the key
- Right-click the Windows Start button and select Windows PowerShell (Admin) or Command Prompt (Administrator), depending on your Windows build.
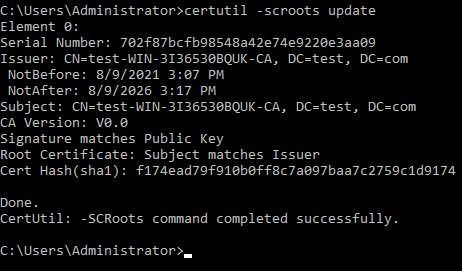
- Type in the following command and press Enter: certutil -scroots update
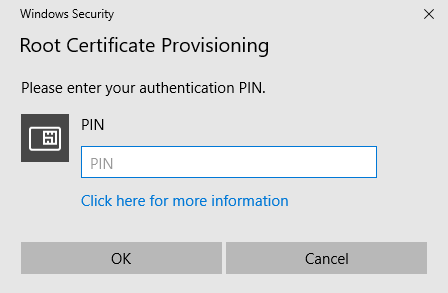
- When prompted for your Windows Security PIN, enter the PIN for your smart card and then press Enter.
- To verify both the smart card certificate and the root certificate are loaded to the smart card, type in the following command and then press Enter: certutil -scinfo
- You are prompted to enter your smart card PIN several times. Enter it each time it is requested.
Manually deleting certificates
To delete certificates from a certificate chain manually, including a Base CSP container and associated key/certificate through the ePassPIV-Minidriver, use the certutil command line program. To list the current containers on the card, use the command:
certutil -key -csp “Microsoft Base Smart Card Crypto Provider”
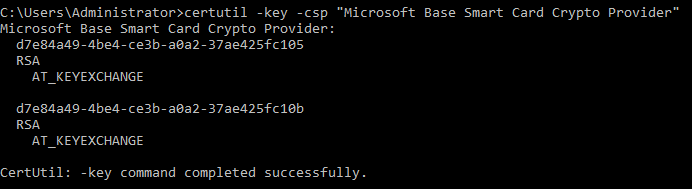
This returns a list of container names and key types. To remove a container cleanly, use the following command while running with elevated permissions as administrator:
certutil -delkey -csp “Microsoft Base Smart Card Crypto Provider” “<container name>”
