Skip to content
Overview
- This article is mainly about how to use our product with PIV functions. Using digitally signing as an example.
Get Started
1. Prepare
- FEITIAN Security key
- A document file(doc,docx or pdf)
- If your OS is Windows, please install a mini-driver, please note our PIV security key is plug and go device, minidriver is not mandatory.
- Download and install FT_SK_Manager
- Please notice that currently FT_SK_Manager does not support Macs with M1 chip, we will fix that soon
2. Generate certificate in security key using FT SK Manager
- Insert your security key, open FT_SK_Manager and click “PIV”.
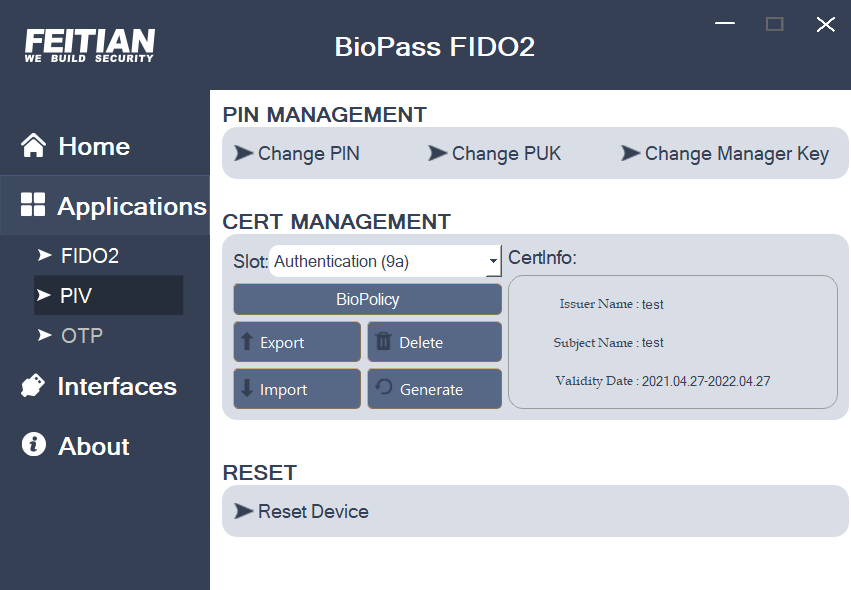
- Make sure you have set and know your PIV PIN, PUK and Manager Key, if you forget those information, it is recommended to reset device and set again.
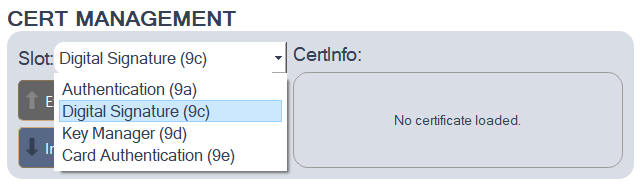
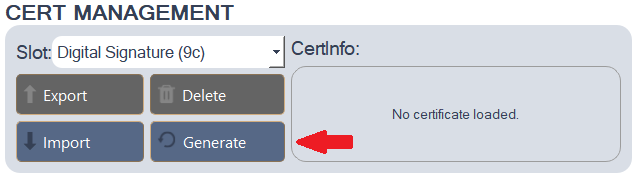
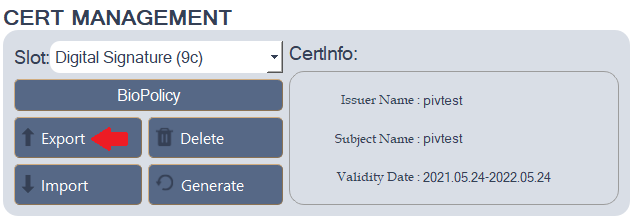
- Choose Slot 9c for digital signing and then click “Generate”.
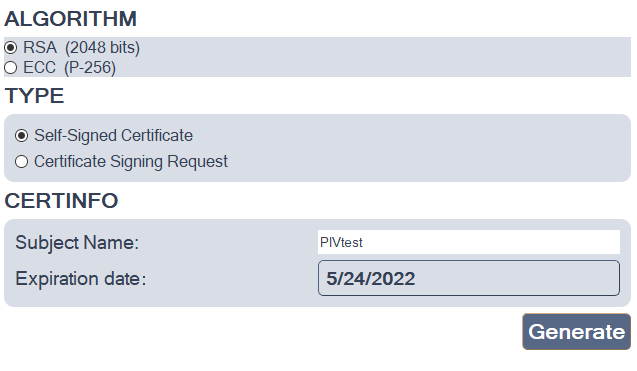
- Then you can configure certificate’s algorithm, type, subject name and expiration date. In this case, please select type “Self-Signed Certificate”
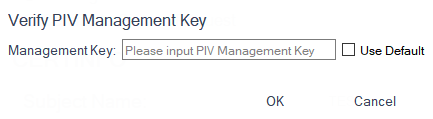
- Enter your PIN and Management key.
3. Export the certificate
- You can see certification information at right part under “CertInfo:”, then click “Export” to export the certificate file.
- Select a path(It is recommended that the path should not have non-English characters).

4. Install the certificate
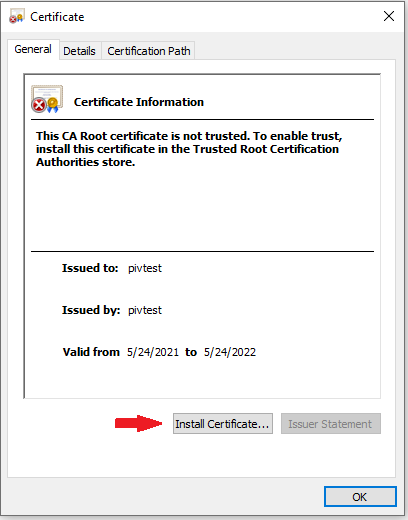
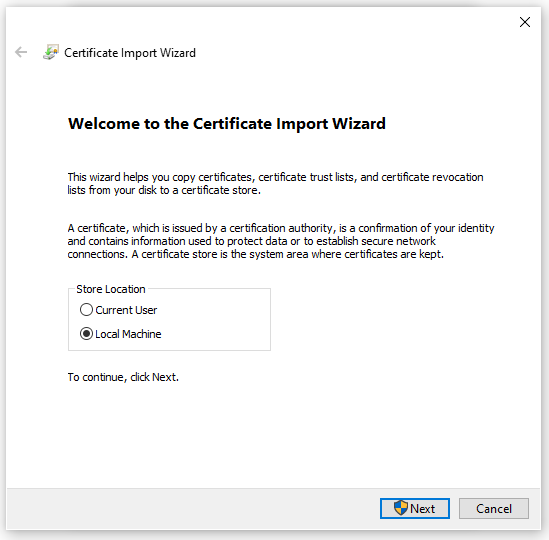
- Find the exported certificate file, double-click it. A certificate box will pop up, click “Install Certificate..”
- Choose the location you want to store, then click “Next”.
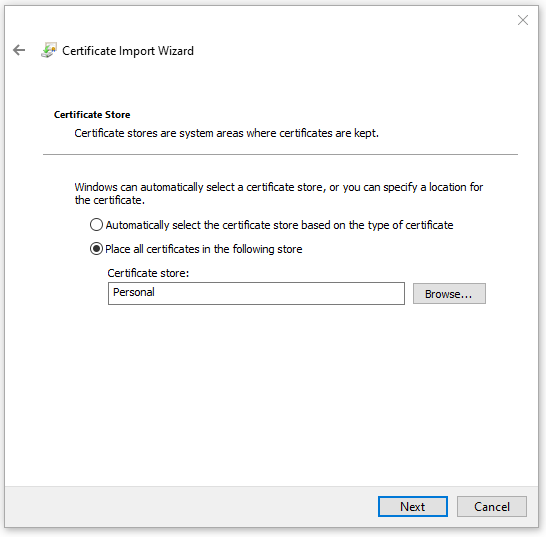
- It is recommended that select second choice and than select “Personal”.
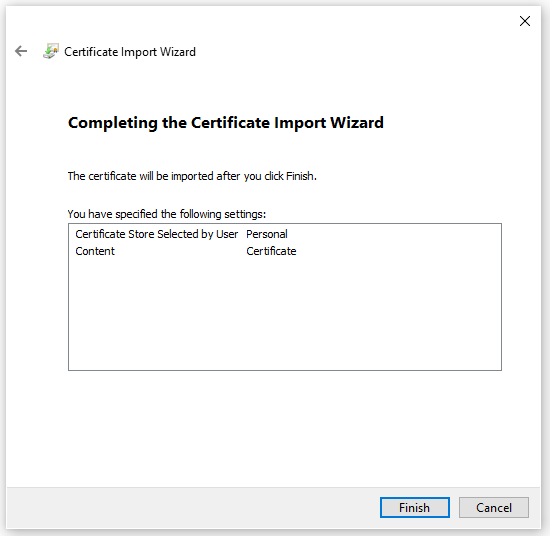
- Success!
- You may need to restart your PC to let the certificate work.
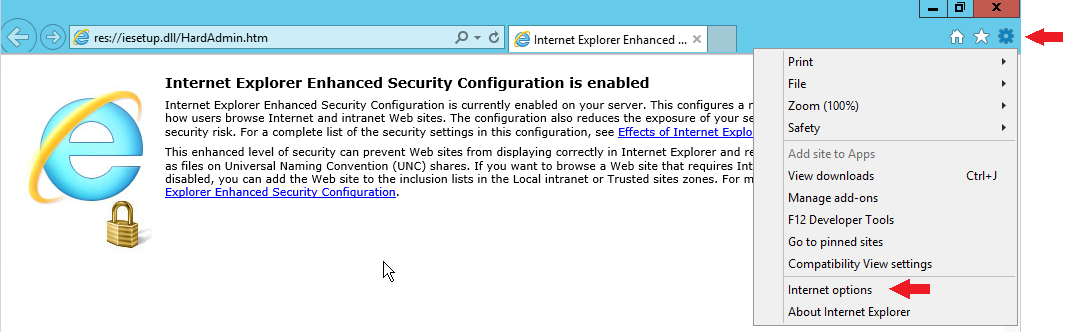
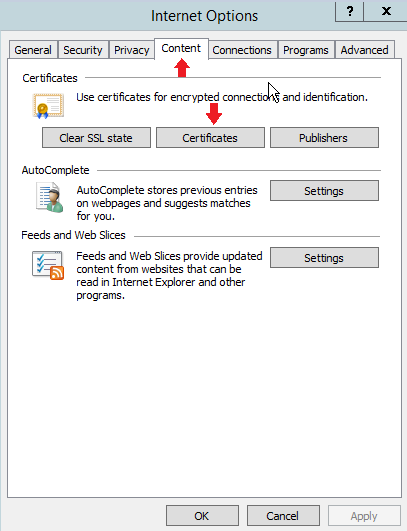
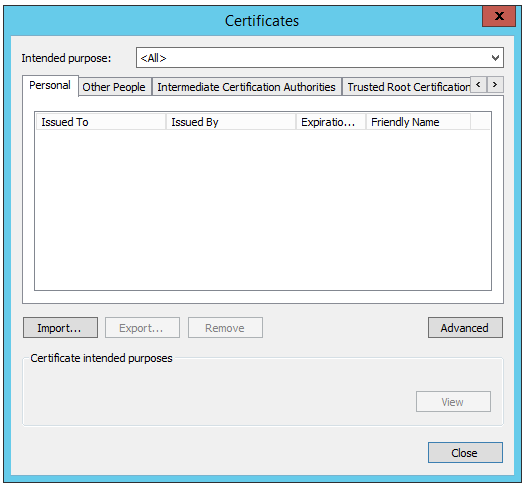
- You can open IE browser->Settings->Internet options->Content->Certificate->Personal to see whether your certificate is here.
5. Adding a digital signature line in a document
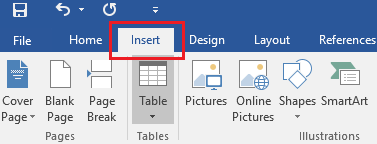
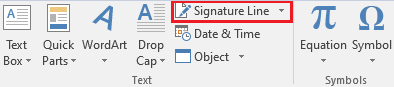
- Open a ‘word’ type file, select “Insert”, and then click “Signature Line” in the right part.
- A box will pop up to let you fill some information(optional).
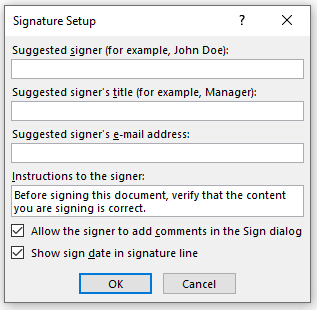
- Click OK after configuration, a blank digital signature will show up.

6. Configure the digital signature
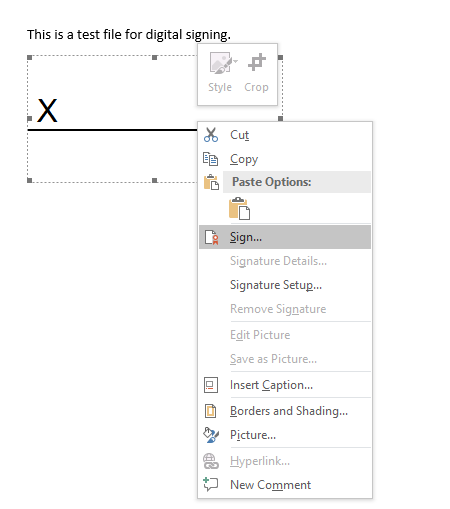
- Right click it, choose “Sign”.
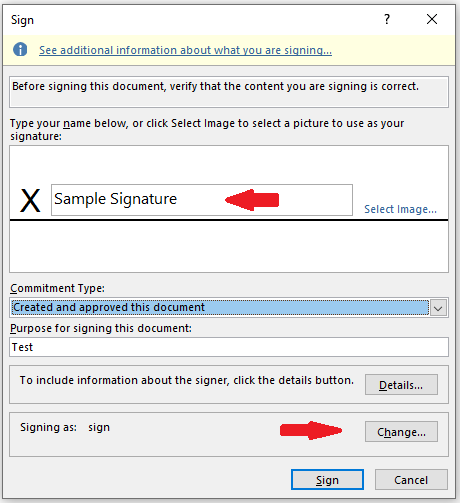
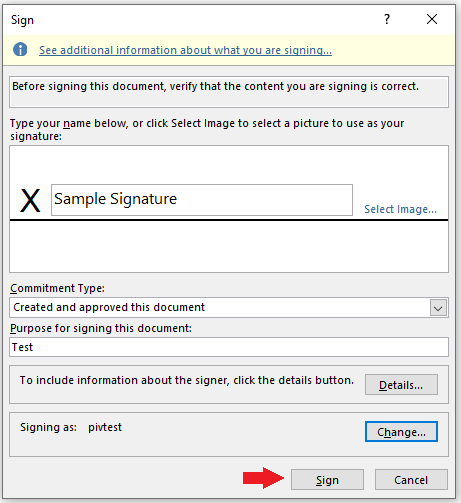
- You can enter your signature or select an image as your graphic signature, and fill in the “Commitment Type”, and “Purpose of signing this document”(optional). And then, click “Change” to use cert file.
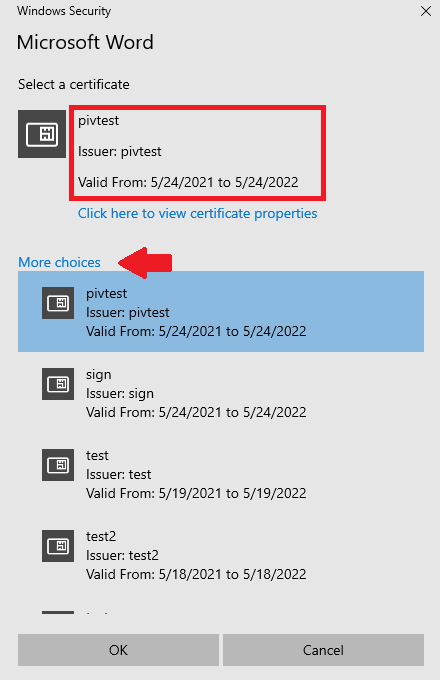
- A box form will pop up. Make sure the certificate is exactly you just generated. If not, click “More Choices” and select the right one. Then click “OK”.
7. Verify your PIV key and sign it
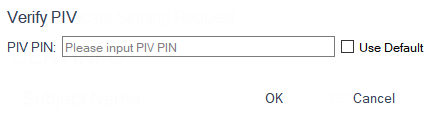
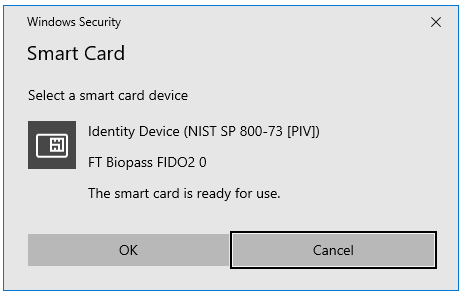
- Make sure your security key is connected to the machine, click ”OK” on the pop-up box.
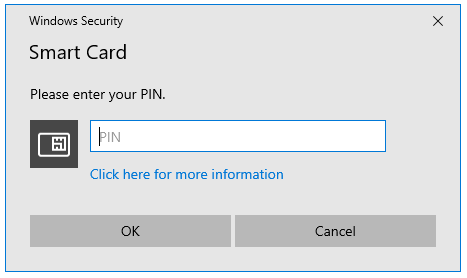
- You need to enter the PIV PIN you set.
- If you have set the PIV BioPolicy, you will also need to touch your key to verify your fingerprints.
- Success!
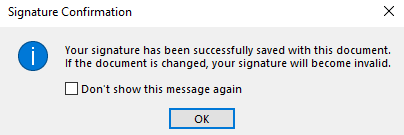
- Now you can see the signature.

- And when someone open the file again, a message will show up.

- If someone is going to edit this document, the digital signature will be removed.
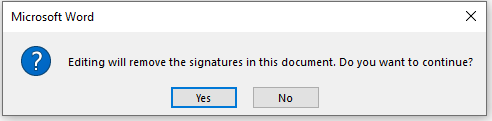
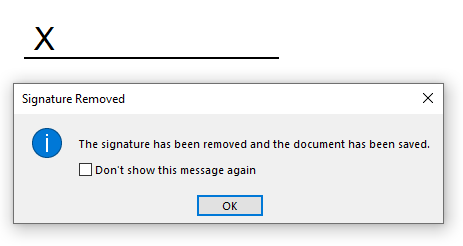
- The signature’s existence makes sure that the document is unchanged.
