
Overview
The guidance is only for reference. Users should configure their servers and clients according to their organisation’s security requirements!
This document is mainly about how to configure Certificate Authority at Windows Server before smart card login certificates can be requested and loaded to FEITIAN keys. There are five main parts:
- Create a smart card login template
- Publish the template in the Certification Authority
- Edit Group Policy about user enrollment
- Auto-enroll certificate at user ‘s machines
- Manually enroll for current user
Prerequisites
- A Windows Server with domain controller and certificate authority configured. Please see link for details. In this document, Windows Server 2016 with AD CA is used.
- Guest machines (could be the Windows Server itself)and available Windows accounts which have already joint in the CA ’s domain. In this document a Windows 10 enterprise is used.
- FEITIAN FIDO products with PIV functions. In this document a BioPass k27 Plus is used.
- ePass-PIV Minidriver installed in relevant machines.
Set up the Smart Card Login Template for User Self-Enrollment
A smart card login certificate template is required before loading certificate to your keys. Follow the steps on the Windows Server that runs CA:
Create a Smart Card Login Template for User Self-Enrollment
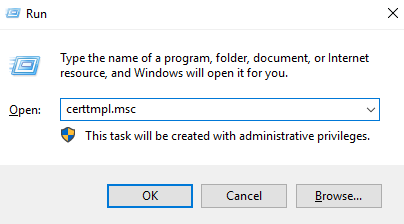
- Press Win+R, type ”certtmpl.msc” and press Enter.
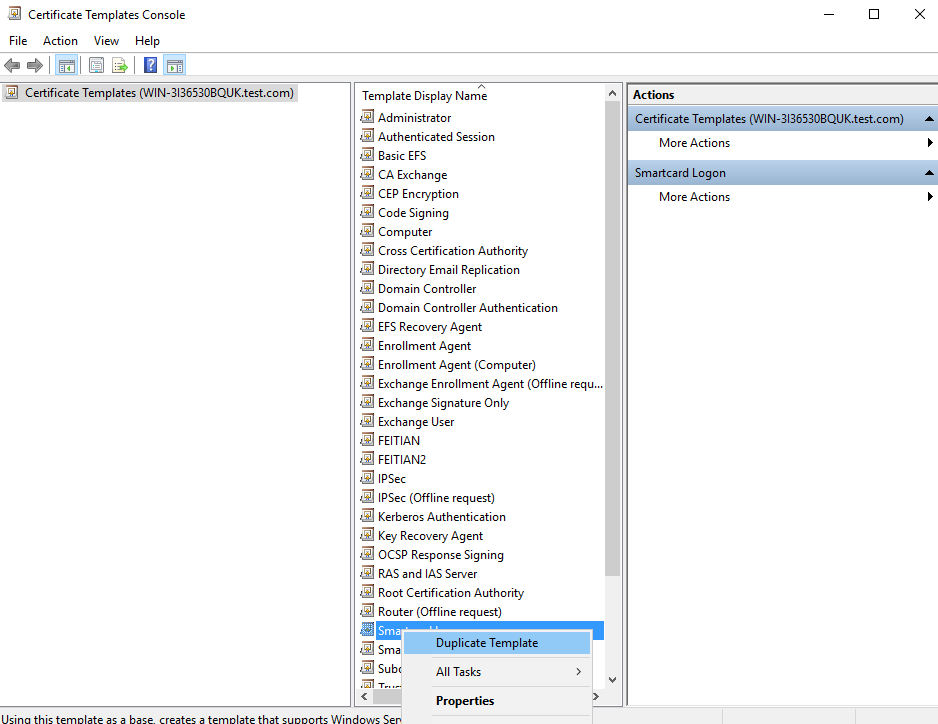
- Click Certificate Templates, right-click Smartcard Logon, and select Duplicate Template.
- Select the General and Compatibility tab, and make the following changes:
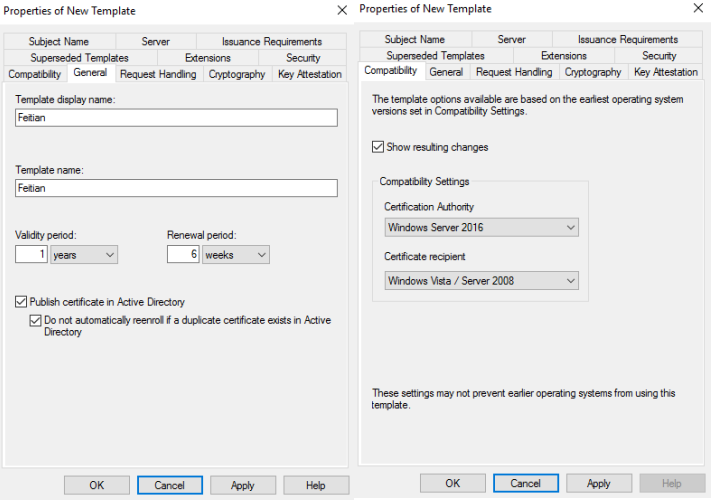
The Certification Authority should be your CA server ‘s OS version and the Certificate recipient should be your oldest OS version that the domain includes.
- Select the Request Handling and Cryptography tab, and make the following changes as needed.
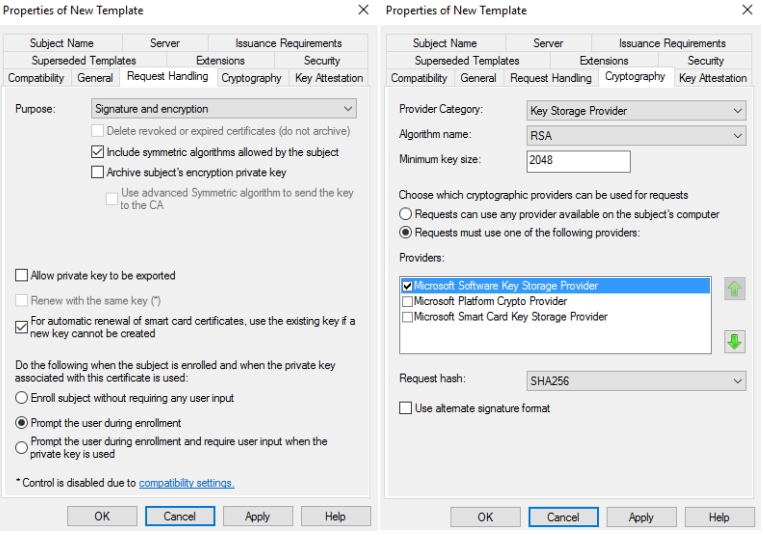
- Under Providers, select Microsoft Smart Card Key Storage Provider
- Algorithm name: Select either RSA, ECDH_P256,or ECDH_P384 from the dropdown. Note: ECDH_P521 is not supported.
- Note that if an ECDH algorithm is selected, the client Windows systems need to have Elliptic Curve Cryptography (ECC) Certificate Login support added using Group Policy or by editing the registry. See Adding Support for Elliptic Curve Cryptography (ECC) Certificate Login for instructions.
- Minimum key size: If you selected RSA in the previous step, enter 2048. If you selected ECDH_P256 or ECDH_P384 in the previous step, this field automatically populated.
- In general, do not check “Allow private key to be exported” unless you need to help other client users of this domain to enroll their keys.
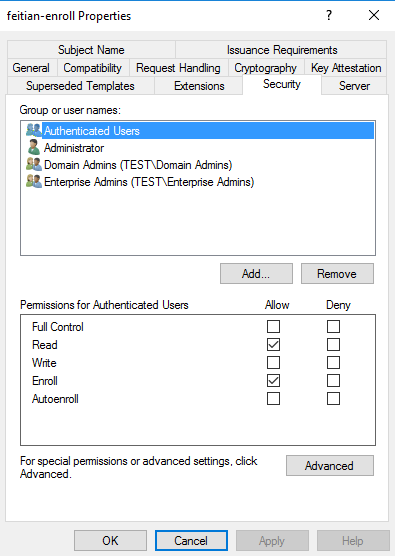
- On the Security tab, make sure to add Read, Write and Enroll to administrator groups and Enroll and Autoenroll permissions to the target users.
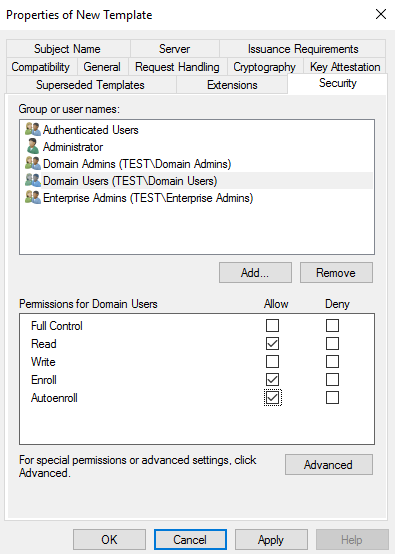
- Make sure there are “Domain Users” and ensure the options for all users are checked for at least Read, Enroll, and Autoenroll. Other user ‘s permission could be set by needs.
- Click Apply, and then click OK to close the template properties window. Close the Certificate Templates window.
Adding the Template to the Certification Authority
- Right-click the Windows Start button and select Run.
- Type ”certsrv.msc” and press Enter.
- Click Certification Authority, double-click your server, right-click Certificate Templates, select New and then select Certificate Template to Issue.
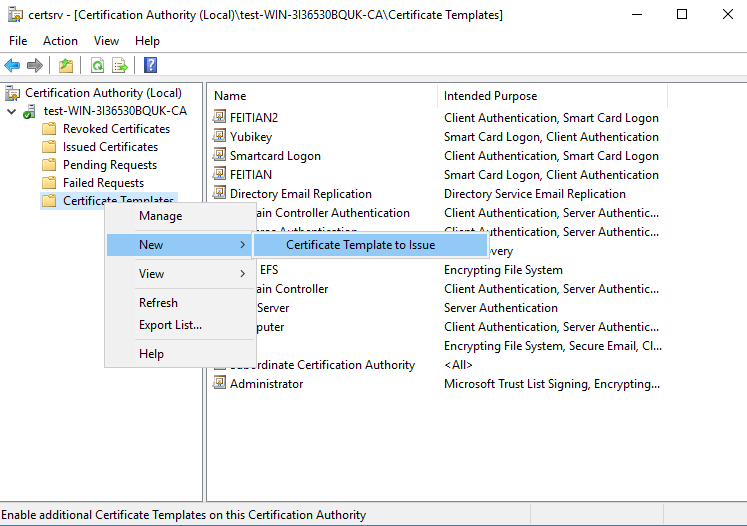
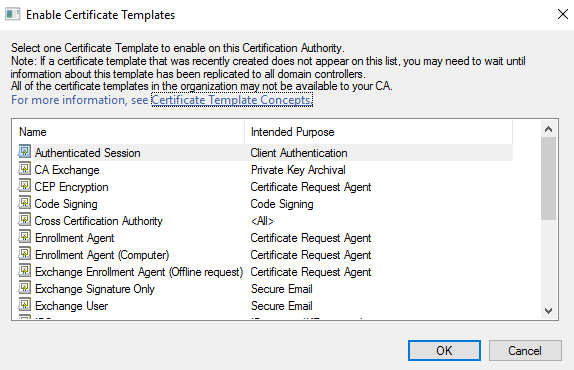
- Locate and select the recently created self-enrollment template, and then click OK
Editing Group Policy to Enable Auto-Enrollment
- Right-click the Windows Start button and select Run.
- Type ”gpmc.msc” and press Enter.
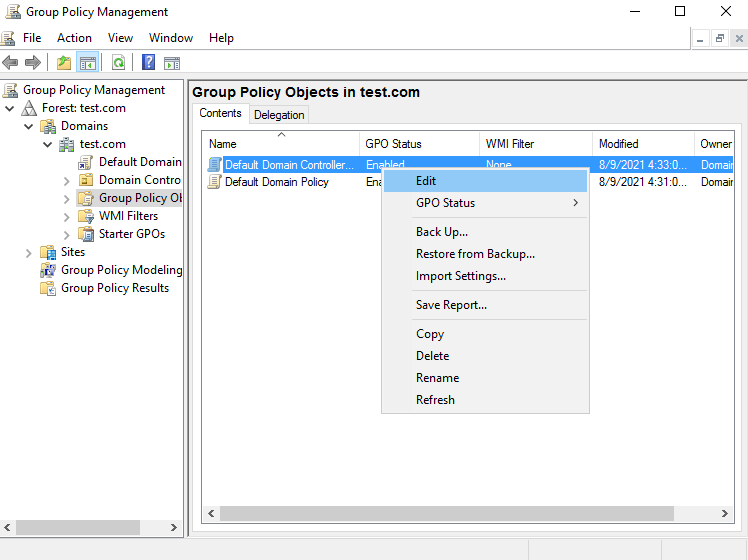
- Navigate to the AD forest and Domain containing your server, double-click your server and double-click Group Policy Objects.
- Right-click on the group policy you want to edit, and then select Edit.
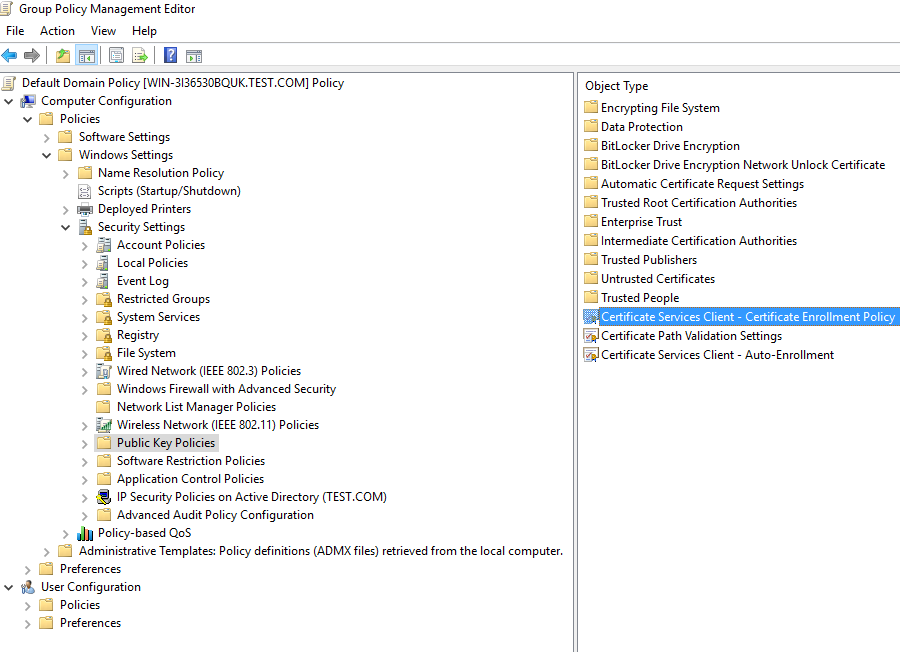
- Expand Computer Configuration > Policies > Windows Settings > Security Settings > Public Key Policies.
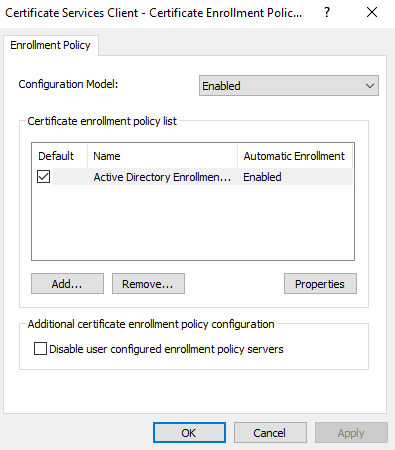
- Right-click Certificate Services Client – Certificate Enrollment Policy and select Properties.
- Make changes as below:
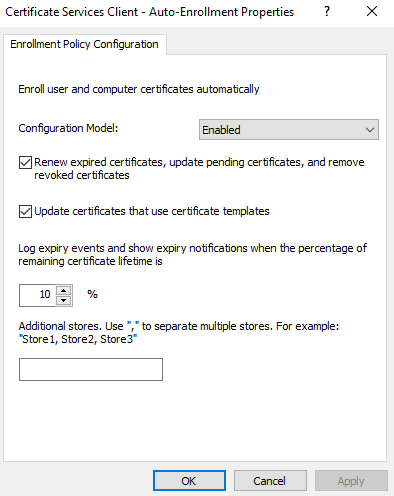
- Right-click Certificate Services Client – Auto-Enrollment Policy and select Properties and make changes as below:
- Expand User Configuration > Policies > Windows Settings > Security Settings > Public Key Policies. Apply same changes to same same certificates (The figure is almost same so there will not be screen shots in this part)
- You may need to restart your machine to apply these changes
Using Auto-Enrollment to Enroll Users
This section describes the steps users will need to follow to auto-enroll their key for Login.
- Log into a user account on a Windows 10 PC connected to the domain. A Certificate Enrollment notification appears above the System Tray.
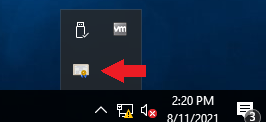
- Click the Certificate Enrollment notification to open the Certificate Enrollment wizard. If the popup has disappeared (or didn’t initially appear) click the arrow in the System Tray to expand the list of options and click on the certificate icon.
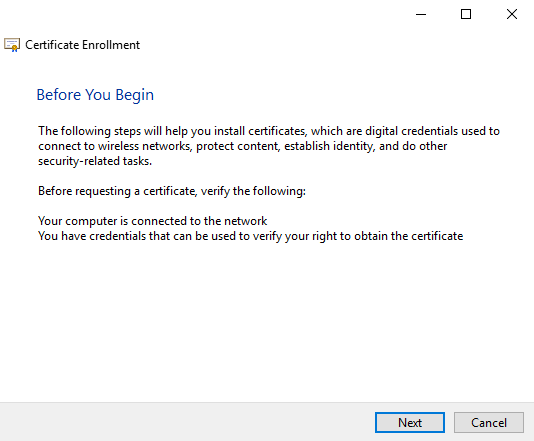
- On the initial screen, click Next.
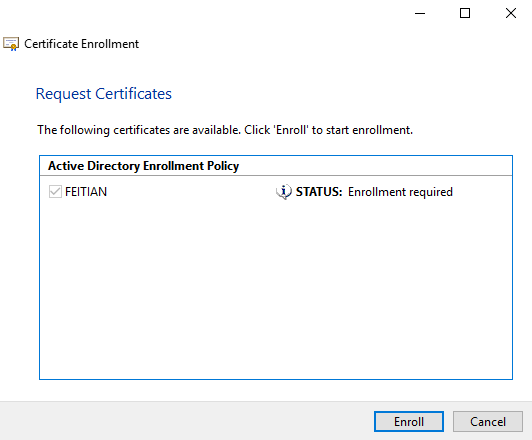
- Select the appropriate certificate template and click Enroll. If multiple certificate templates are listed, assuming the template was set up properly, “STATUS: Enrollment required” should appear next to the correct template.
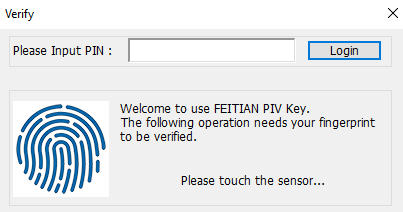
- Enter your key ‘s PIV PIN and then click OK. If that PIN has not been set, enter the default PIN:123456.(If you have set BioPolicy at your device, you also need to touch the device to verify your fingerprints)
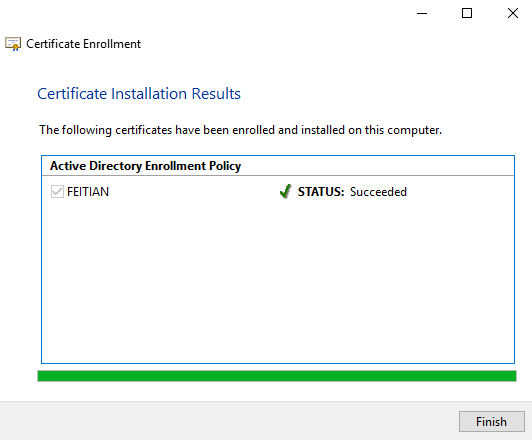
- Windows will enroll the for Windows login. After the process succeeds, click Finish.
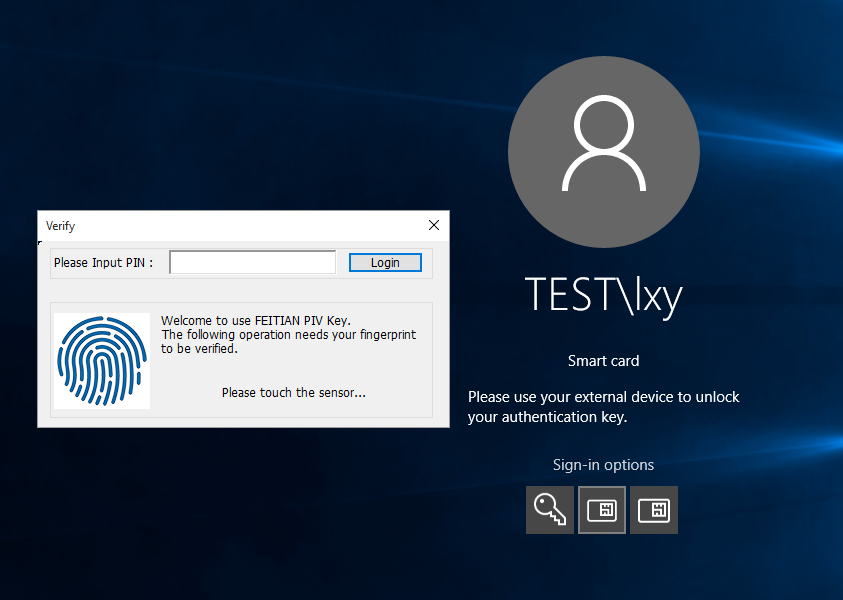
- When you login to this machine next time, you can select Smart Card method to logon
Manually enroll
If you want to enroll the certificate manually, or something unexpectedly stop the auto enrollment, you can change the properties of the certificate template and enroll it by your self.
First open the certificate template at certtmpl.msc, move to Security tab and uncheck the Autoenroll permission at certificate template security tab.
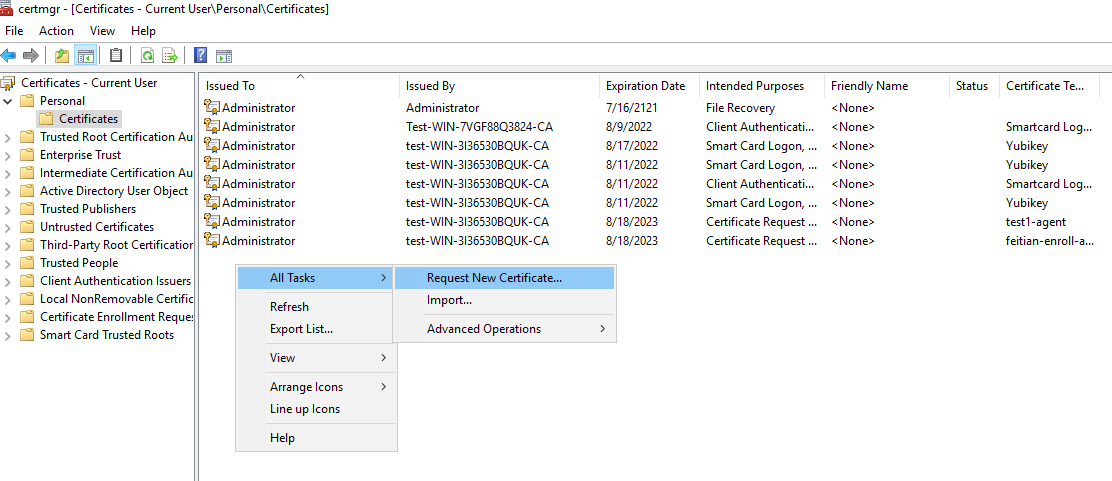
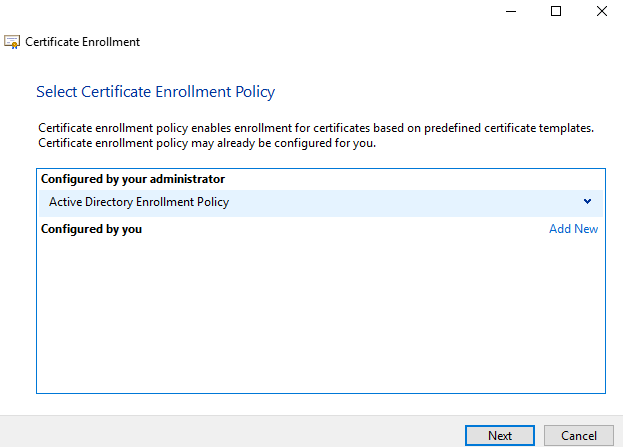
And then run certmgr.msc, move to Personal-Certificates, right click, All tasks, Request New Certificate.
Next,
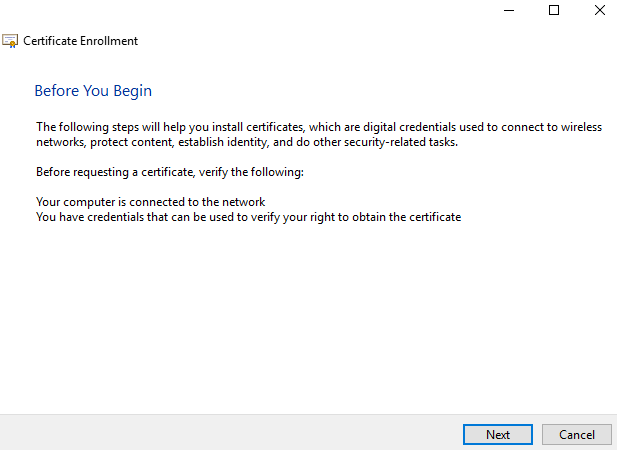
Next,
Select the certificate template you created at previous steps.
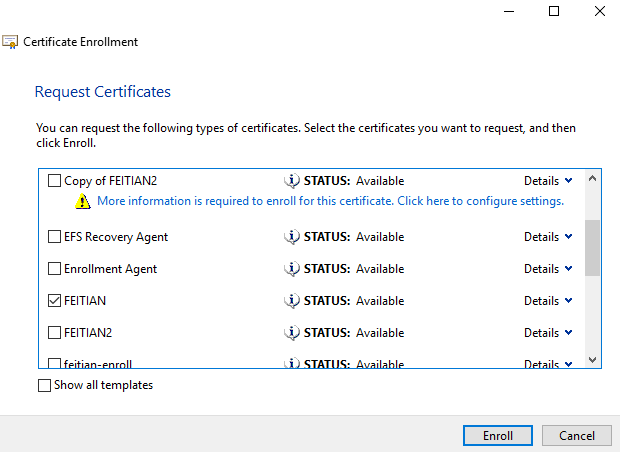
Success. Next time you login to this account with our key inserted, you can use smart card logon method.
