Chapter 1 About
This document introduces how to use FT_SK_Manager for macOS with our FIDO products to configure Mac PIV smart card login.
Chapter 2 Prepare
- Environment: macOS 10.15 or above systems.
- Please download FT_SK_Manager for macOS and Hash file here.
Chapter 3 Usage of Mac PIV Login Driver
3.1 Installing
Double-click the FT_SK Manager install package, complete installation, open it with key inserted, click ‘PIV’. If your machine OS and device fulfil the requirements, you will see ‘Set up’ shown as Figure 1 and you are able to install this driver.
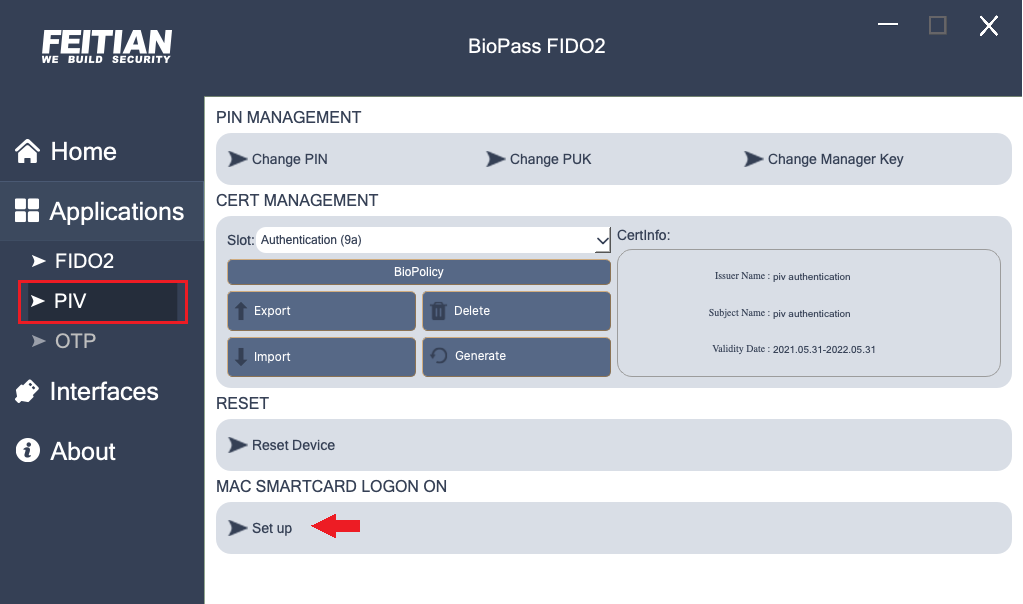
Figure 1 FT_SK Manager PIV Page
3.2 Interface
Figure 2 shows the functional interface, which displays paired device, system and pairing information, and functions including setting up and unpairing.
If there is no pairing device or pairing status has just been deleted, the pairing information is empty as shown in figure 2.
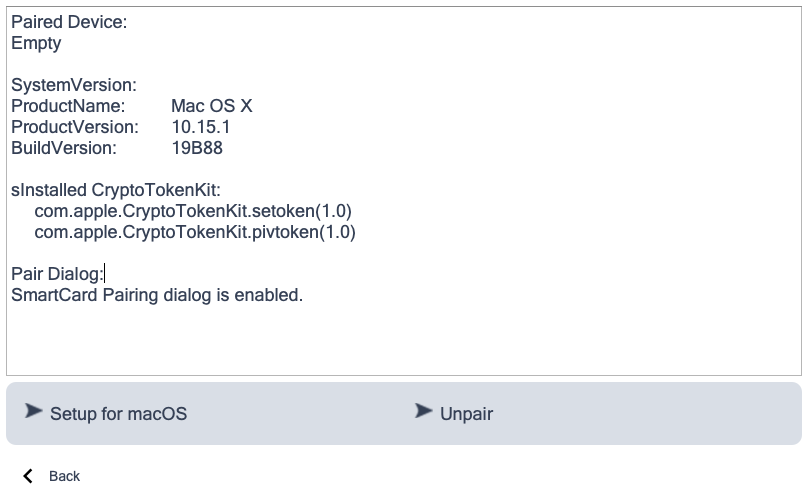
Figure 2 Functional interface
3.3 Setup and Pair
Pairing process is one prerequisite for smart card login. Click ‘Setup for macOS’ in figure 2 to complete pairing preconditions. This process will generate login and user certificates in slots 9a, 9d using ECC(p-256) algorithm. You can also import or generate certificates at those slots manually.
The system will remind you to execute as an administrator as figure 3. Click ‘OK’ , you will need to verify PIV PIN, and Management key. Following the hint through figure 4 to 7.
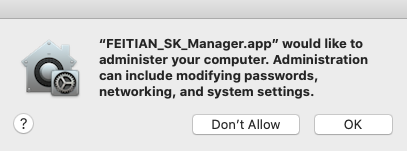

Figure 3 System Hint Figure 4 System Hint 2


Figure 5 PIV PIN Verify Box Figure 6 Management Key Verify Box

Figure 7 Success Hint
Re-plug the key to start the pairing process, a system hint will show as figure 8. Click ‘Pair’.

Figure 8 System Hint 3
A pairing box will pop up as shown in figure 9.
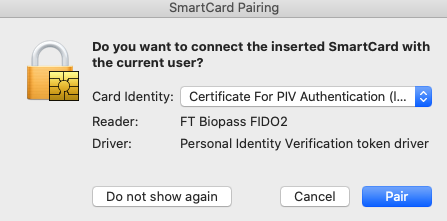
Figure 9 Smart Card Pairing Box
Click the ‘Pair’ button, enter the computer user name, password and user PIV PIN(Set at FT_SK Manager), then you can complete the pairing. Figure 10 shows the smart card pairing password verification box, and figure 11 shows the smart card PIN code verification box.
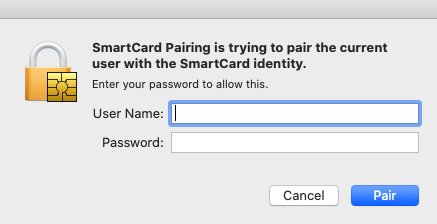
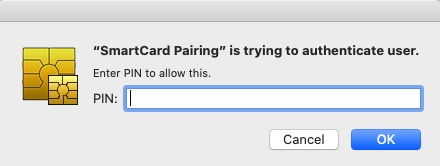
Figure 10 Smart Card Pairing Password Verification Box Figure 11 Smart Card Pairing PIN Code Verification Box
- If you set a BioPolicy at Slot 9a, you will need to touch the key to verity your fingerprint.
Then, you need to enter user password again as figure 12.
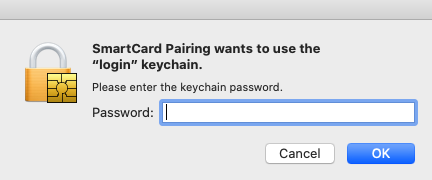
Figure 12 Smart Card Pairing PIN Code Verification Box
Back to the functional interface, the hash of paired device will shown as figure 13.
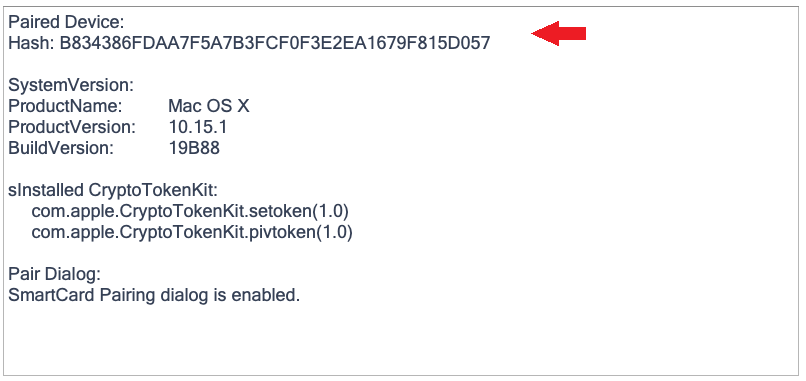
Figure 13 Paired device information
3.4 Unpair
Click the ‘Unpair’ button to clear the pairing state. Figure 14 shows the success result of the cleanup state.
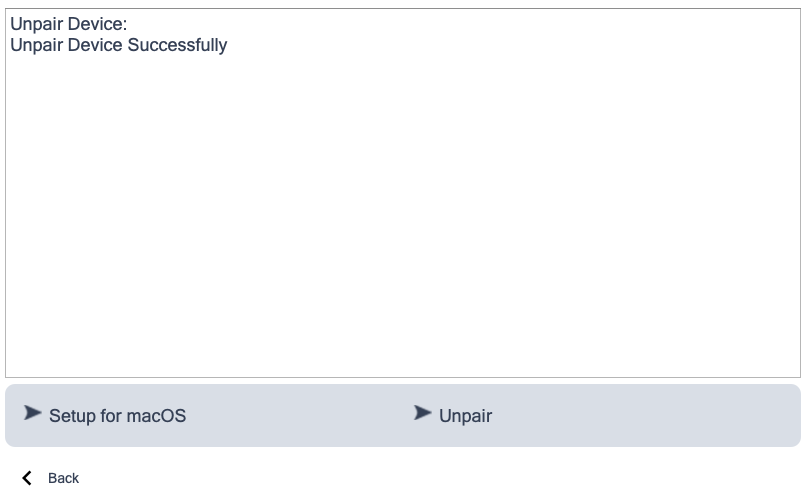
Figure 14 Clear pairing state interface
3.5 Smart Card Login
After the paring process is success, the smart card is able to do login operation, as shown in figure 16 for the smart card login interface. Enter the user PIN code to login to the system(or plus fingerprint).

Figure 15 Smart Card Login Interface
Note: If you want to use fingerprint to log on in the process above, please use FEITIAN SK Manager tools to register fingerprints to the device and set up a fingerprint BioPolicy in slot 9a to enable PIN + fingerprint login. When this strategy is activated, user needs to touch the device after entering PIN in logging on or other PIV related processes.
Please refer to Section 3.3.2.1.2 “Fingerprint Management” and 3.3.2.2.4 “PIV Certificate BioPolicy from “FEITIAN SK Manager tool user Manual” for fingerprint registering and fingerprint BioPolicy settings. Default fingerprint policy is “Never” state and can be set to “Always” or “Cached”, as follows:
- Never: Doesn’t support fingerprinting
- Cached: Supports cached fingerprinting and cache time configuration. If cache time is not set, the default value is 60 s
- Always: Needs to verify fingerprints every time
